Why sing before you play? Why do we learn chords on the guitar?How to create strumming patterns?....

Lesson 3 – How to play the Em and G chord
This is the transcript of lesson 3 of the Beginners course.
Click on the link for the transcript of lesson 1 of the Beginners course: How to find notes on the guitar fretboard
Click on the link for the transcript of lesson 2 of the Beginners course: How to play the C and Am chord
1 Introduction
1.1 What will you learn
In this lesson, you will learn to play a new section of our final song, and how to play the Em and G chord.
Once you master this new section you will have further musical vocabulary, better right and left hand coordination and improved finger picking technique.
You will also build on the song from lesson 2, and start exploring different styles of guitar playing.
1.2 What will happen after this lesson
You will feel positive that you can learn to play the guitar with fun, as you will have understood that you are able to target all goals, by dividing the learning process into manageable, satisfying steps.
2 Warm up
Warm up with the following phrase:
Learn it slowly.
Count it in.
- Listen
- Imagine what I have just done.
- Sing what I have just done.
- Play with me.
Play the notes on the 6th string with your thumb. Play the notes on the 4th string alternating between the index, and middle finger. I will play the phrase 4 times.
Notice that I play louder the ands.
Play it with me a bit faster.
Now play it with the recording.
3 The Song
Learn this song with the Em and G chords. Learn how to play the Em and G chord.
3.1 The Goal
In order to learn how to play the Em and G chord and play this song you will need to practice:
1 Each chord on its own
2 How to join them and create the groove
3 The melody
4 The song from start to finish.
Note:This practice routine breaks up your learning of how to play the Em and G chord, into manageable steps. If you jump any step, for example practice directly step 4, you most probably will end up playing the song very poorly, and feeling very frustrated. So, practice the full routine in order.
3.2 Step one Practice each chord on its own
3.2.1 Chord Learning Routine on Em
Apply the chord learning routine to the Em Chord.
- Place your fingers in order.
- Name the bass.
- Play one string at a time from the bass.
- Clarity check: adjust your hands.
- Repeat and play one string at a time from the bass.
3.2.2 Chord Learning Routine on G
Apply the chord learning routine to the G Chord.
- Place your fingers in order.
- Name the bass.
- Play one string at a time from the bass.
- Clarity check: adjust your hands.
- Repeat and play one string at a time from the bass.
3.3 Step two- Join them
4/4 |Em | G | Em | G|
This is a visual representation of what you have to do. Each chord, between the brackets, lasts a specific number of beats, or taps with your foot.
The symbol 4/4, indicates four taps of your foot between brackets, hence, each chord has a duration of 4 counts. Join them and learn how to play the Em and G chord.
3.3.1 The goal
Your goal will be to play:
4/4 |Em | G | Em | G|
likes this:
Get ready
- Place your fingers in order.
- Name the bass.
- Play the bass.
3.3.2 Slow it down
In order to learn how to play the Em and G chord fluently, you first need to practice it slowly. I suggest you first play it numerous times without tempo striving for clarity of sound as follows.
Get ready
Play along with me.
- Place your fingers in order
- Name the bass
- Play the bass
and
1 and 2 and 3 and strum 23, make sure you place your fingers down exactly when you say 23,
now check for clarity and reposition your hand,
and 1 and 2 and 3 and strum, move, make sure you lift your fingers 2 and 3 when you say move,
and, place your first finger down, make sure you place it exactly when you say one,
now check for clarity and reposition your hand,
and 1 and 2 and 3 and strum 23, 1 and 2 and 3 and strum.
Rewind and repeat this routine 10 times.
3.3.4 Play the goal
Now you should be ready to play it in tempo non stop. Play along with me.
3.3.5 On your own
Stop the video and do it on your own. After each repetition ask yourself the following:
Check questions
- Did you turn on your metronome?
- Did you tap always your foot while playing?
- Did you count it in?
- Did you sing or say what you where doing?
- Did you play non stop?
Repeat
Repeat this exercise as many times as you need to, until you can answer with a yes all the check questions.
Still not able to jump between chords ?
It would be quite normal, at this stage, if your are still not fluent in the chord change. If so, rewind and repeat step two a few times, and you will soon notice improvement.
4 Step Three – The Melody
The Goal
Your goal is to play this melody.
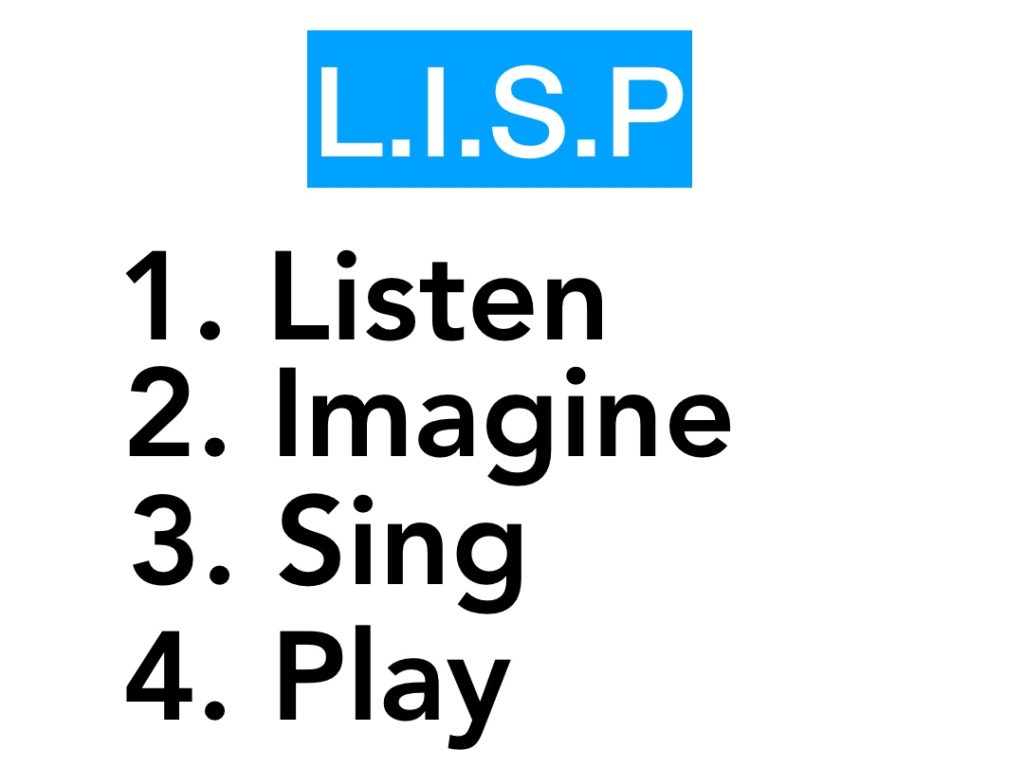
4.1 Apply the L.IS.P routine
Learn the melody slowly and effectively, by applying the LISP routine: Listen, imagine, sing, play.
Get ready
Get the Em chord in place.
- Place your fingers in order.
- Name the bass.
- Play the bass.
- Listen to what you have to do.
- Imagine what you have to do.
- Sing what you have to do.
- Play what you have to do.
Notice that I play the lalalala with the index and annular fingers alternating between them on each note. Also to play the lalalala on the G chord, lift the 3rd finger up and place it on the D note.
4.2 On your own
Now Stop the video and do it on your own. After each repetition ask yourself the following:
Check questions
- Did you turn on your metronome?
- Did you tap always your foot while playing?
- Did you count it in?
- Did you sing or say what you where doing?
- Did you play it non stop?
If your answer is no to any of the questions, repeat the full L.IS.P routine.
5 Step Four – Play the song
Play the full song with me.
Get your Em chord in place.
- Name the bass.
- Play the bass.
- Clarity check.
- and play along with me.
Repeat this step a few times before moving on.
5.1 On your own
Now Stop the video and play the song on your own. After each repetition ask yourself the following:
Check questions
- Did you turn on your metronome?
- Did you tap always your foot while playing?
- Did you count it in
- Did you sing or say what you where doing?
- Did you play it non stop?
If your answer is no to any of the questions, repeat this whole video from the beginning. Have fun.
6 Consolidation exercises
As mentioned, in each lesson you will learn a new section of the full final song of this course. This final song, brings to life all the musical objectives of this course. If you can play it and have fun at the same time, will mean that you have learnt effectively.
Therefore, I will ask you in every new lesson, to consolidate all you have previously learnt.
But, please make sure you have completed all previous assignments, in a satisfactory manner, as they are designed to break up the learning process into fun, and comfortable steps.
Play along with me song number one but at a quicker tempo.
6.1 On your own
Stop the video, and play the song on your own, at your comfortable tempo, which is the slowest tempo you can do it at. After each play ask yourself the following:
Check questions
- Did you turn on your metronome?
- Did you tap always your foot while playing?
- Did you count it in?
- Did you sing or say what you where doing?
- Did you play it non stop?
If your answer is no to any of these questions, repeat the exercise until you only have yes answers.
If after a few repeats, you still cannot play it right, and start feeling frustrated, stop and repeat lesson 2, to further consolidate this song, by practicing it in more manageable steps.
7 Assignments
Quiz
What does l.i.s.p stand for?
Why learn a melody with the lisp routine?
How many bars does 2, (warm up), have?
How many bars does the Song 3 have? The new song of this lesson.
On what bar of the Song 3 does the melody section start?
Extra
Draw on the fretboard the C scale, then draw 6 shapes of the C, Am, Em and G chords.
7.1 Record yourself
Record yourself in video, with your phone, playing 2. ( the Warm Up.) Your recording must answer yes to the following check questions. Once you are satisfied please submit your recording.
Check questions
- Did you turn on your metronome?
- Did you tap your feet while recording?
- Did you count it in?
- Did you sing what you were doing?
- Did you play it non stop?
7.2 Record yourself
Record the song in video, with your phone, playing 6 ( The song for the first lesson at a quicker speed ). Your recording must answer yes to the following check questions. Once you are satisfied please submit your recording.
Check questions
- Did you turn on your metronome?
- Did you tap your feet while recording?
- Did you count it in?
- Did you sing what you were doing?
- Did you play it non stop ?
7.3 Record yourself
Record yourself in video, with your phone, playing 3 ( The song in this lesson with the Em and G chords). Your recording must answer yes to the following check questions. Once you are satisfied please submit your recording.
Check questions
- Did you turn on your metronome?
- Did you tap your feet while recording?
- Did you count it in?
- Did you sing what you were doing?
- Did you play it non stop ?
8 Recommended listening
Follow these links to my you tube channel and listen to a selection of guitarists in jazz, blues, rock and flamenco styles.
Recommended listening Jazz Guitar
Recommended listening Blues and Rock Guitar
Recommended listening Flamenco Guitar
Related Posts